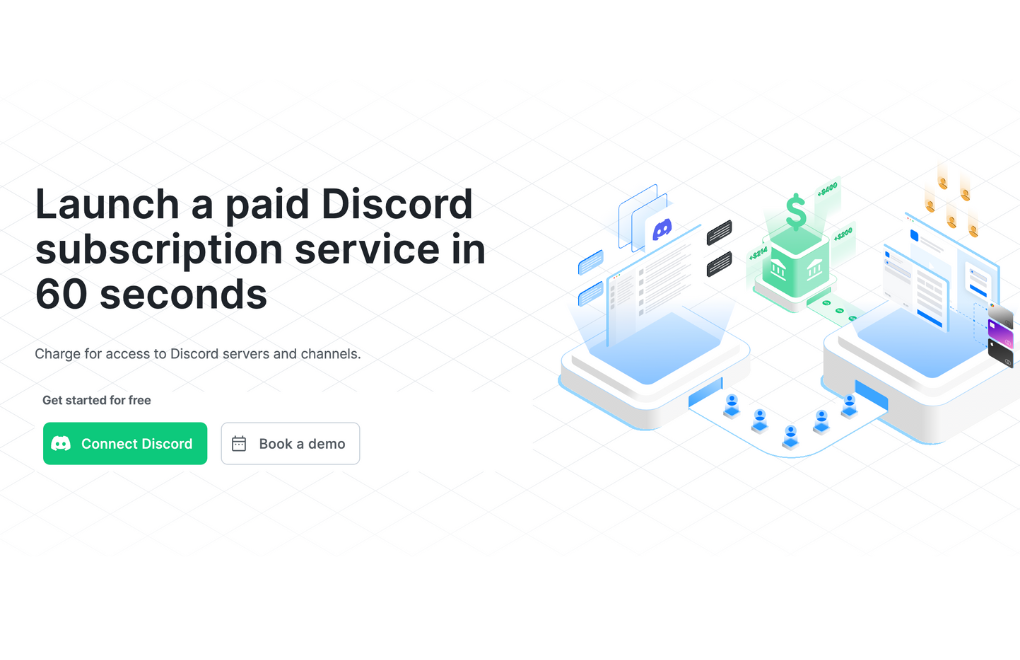
Discord is a powerful chat platform — originally designed for gaming — that specializes in text, image, video and audio communication between users. In recent years it’s become a popular way of creating profitable, subscription-based chat communities.
It’s been used to launch paid communities for everything from funding non-profits, premium reselling groups, expert communities, stock and financial trade alerts groups, to supporting podcasts and YouTube creators.
With LaunchPass you can create a paid Discord group in literally five minutes. This guide will walk you through the entire process, covering the following steps.
- Create your Discord server
- Connect your Discord to LaunchPass
- Create and Publish Your LaunchPass Signup Page
- Connect your Stripe to receive payment
- Start your trial
- Share your page!
Before we dive in: If you prefer to get some help getting started, our team will walk you through setting up your entire Discord community launch from start to finish. Book a set-up call below:
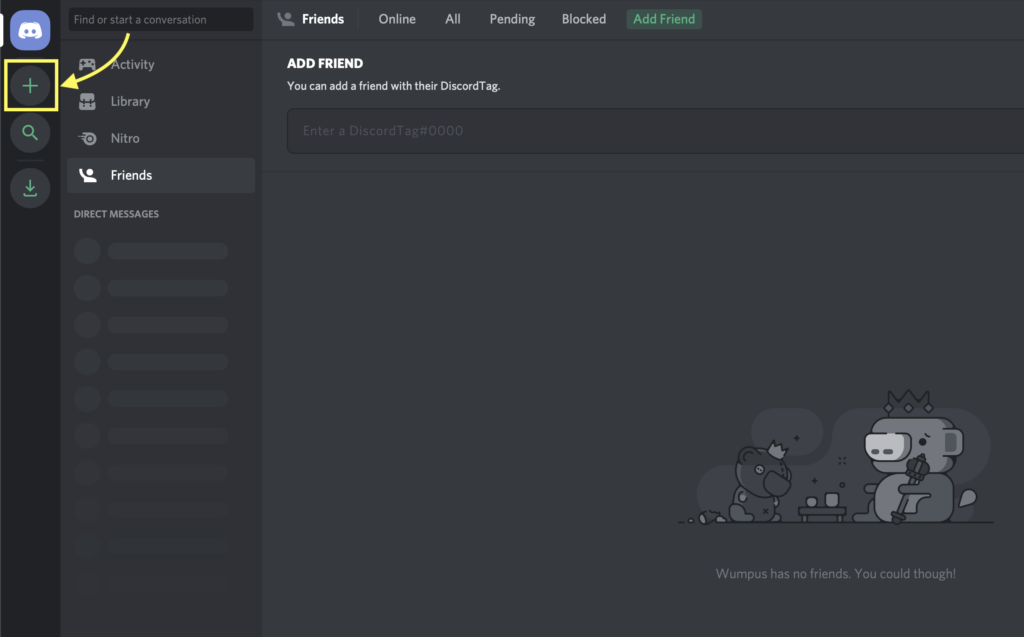
Step 1: Create your Discord server
Creating a Discord server is free and easy.
First, login to Discord, or signup for your free Discord account here: Discord
Once you are logged into your Discord account click the (+) button to create your own server.
Give your community a cool name, add your logo, and click “Create”.
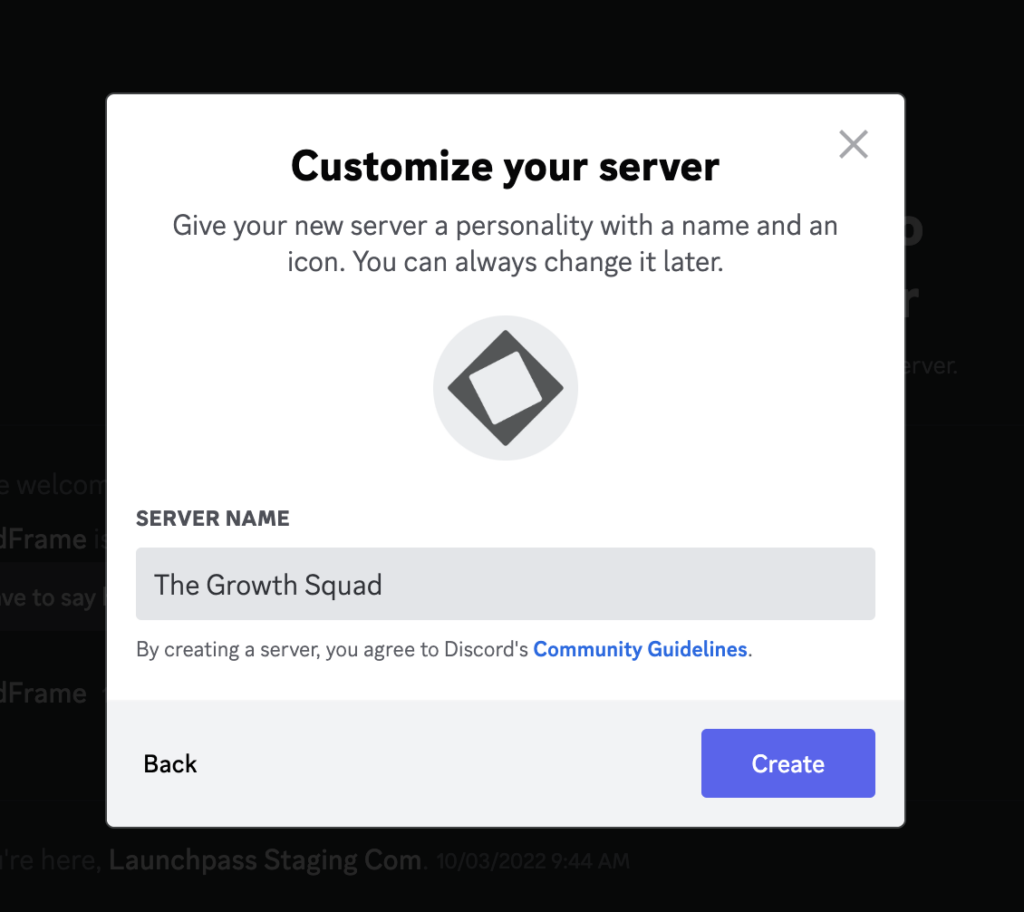
You now have your own Discord server!
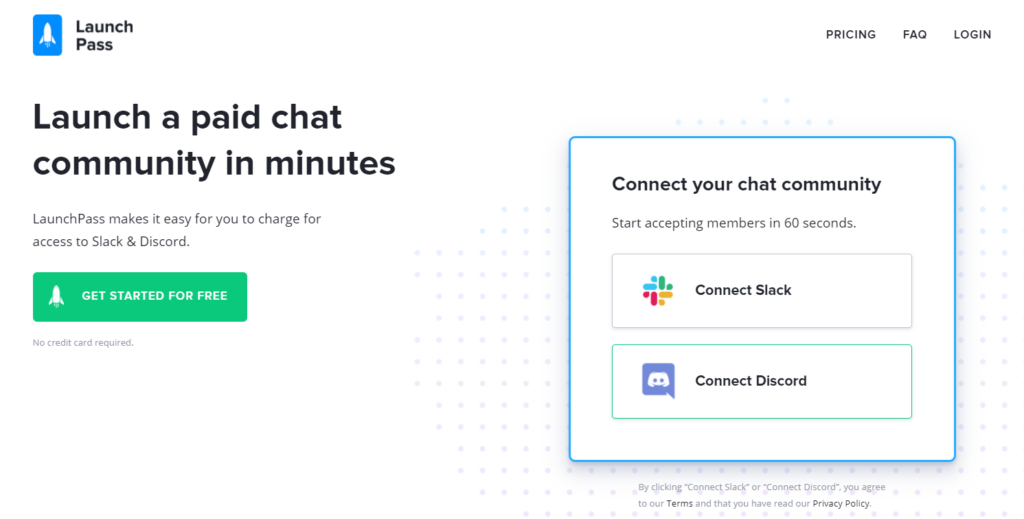
Step 2: Connect your Discord to LaunchPass
Login to LaunchPass in order to connect your Discord. You can do this by clicking the “Connect Discord” button on the LaunchPass home page.
Select your new Discord server from the dropdown and click “Authorize” so LaunchPass can send invites and manage members.
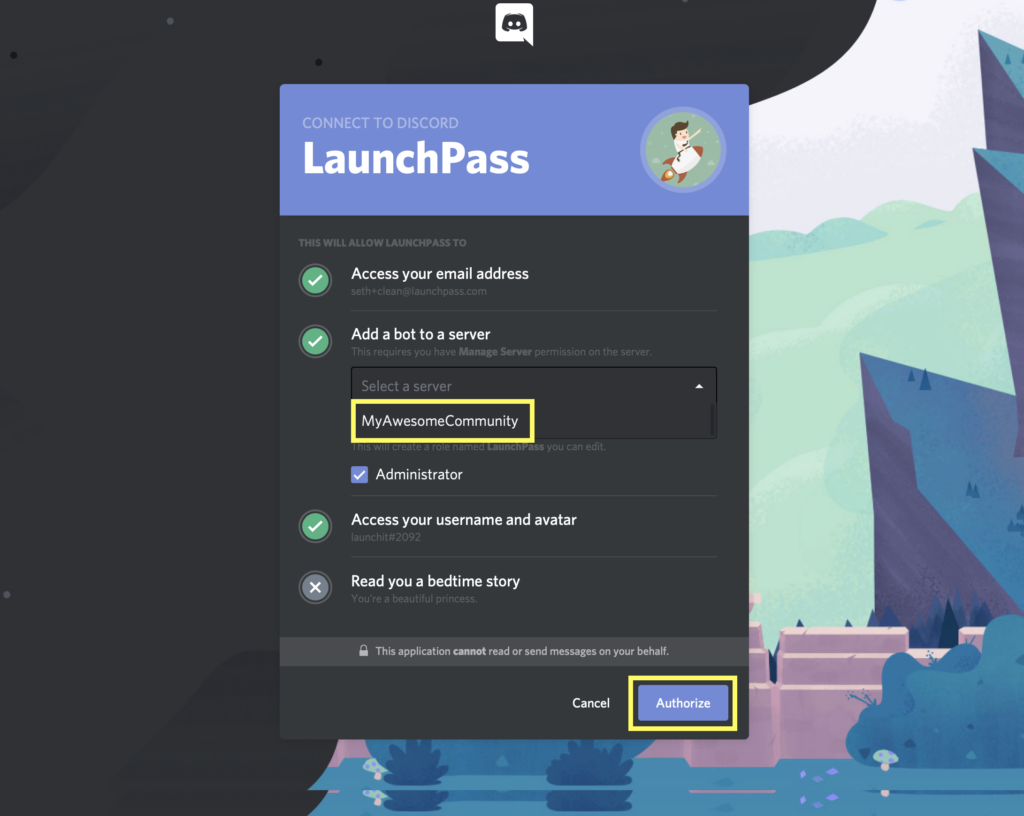
Once you’ve connected your Discord account, you’ll be brought to the LaunchPass account confirmation page. Fill in your details, accept the Terms of Service, and click “Ready for lift off”.

Step 3: Create & Publish Your LaunchPass Signup Page
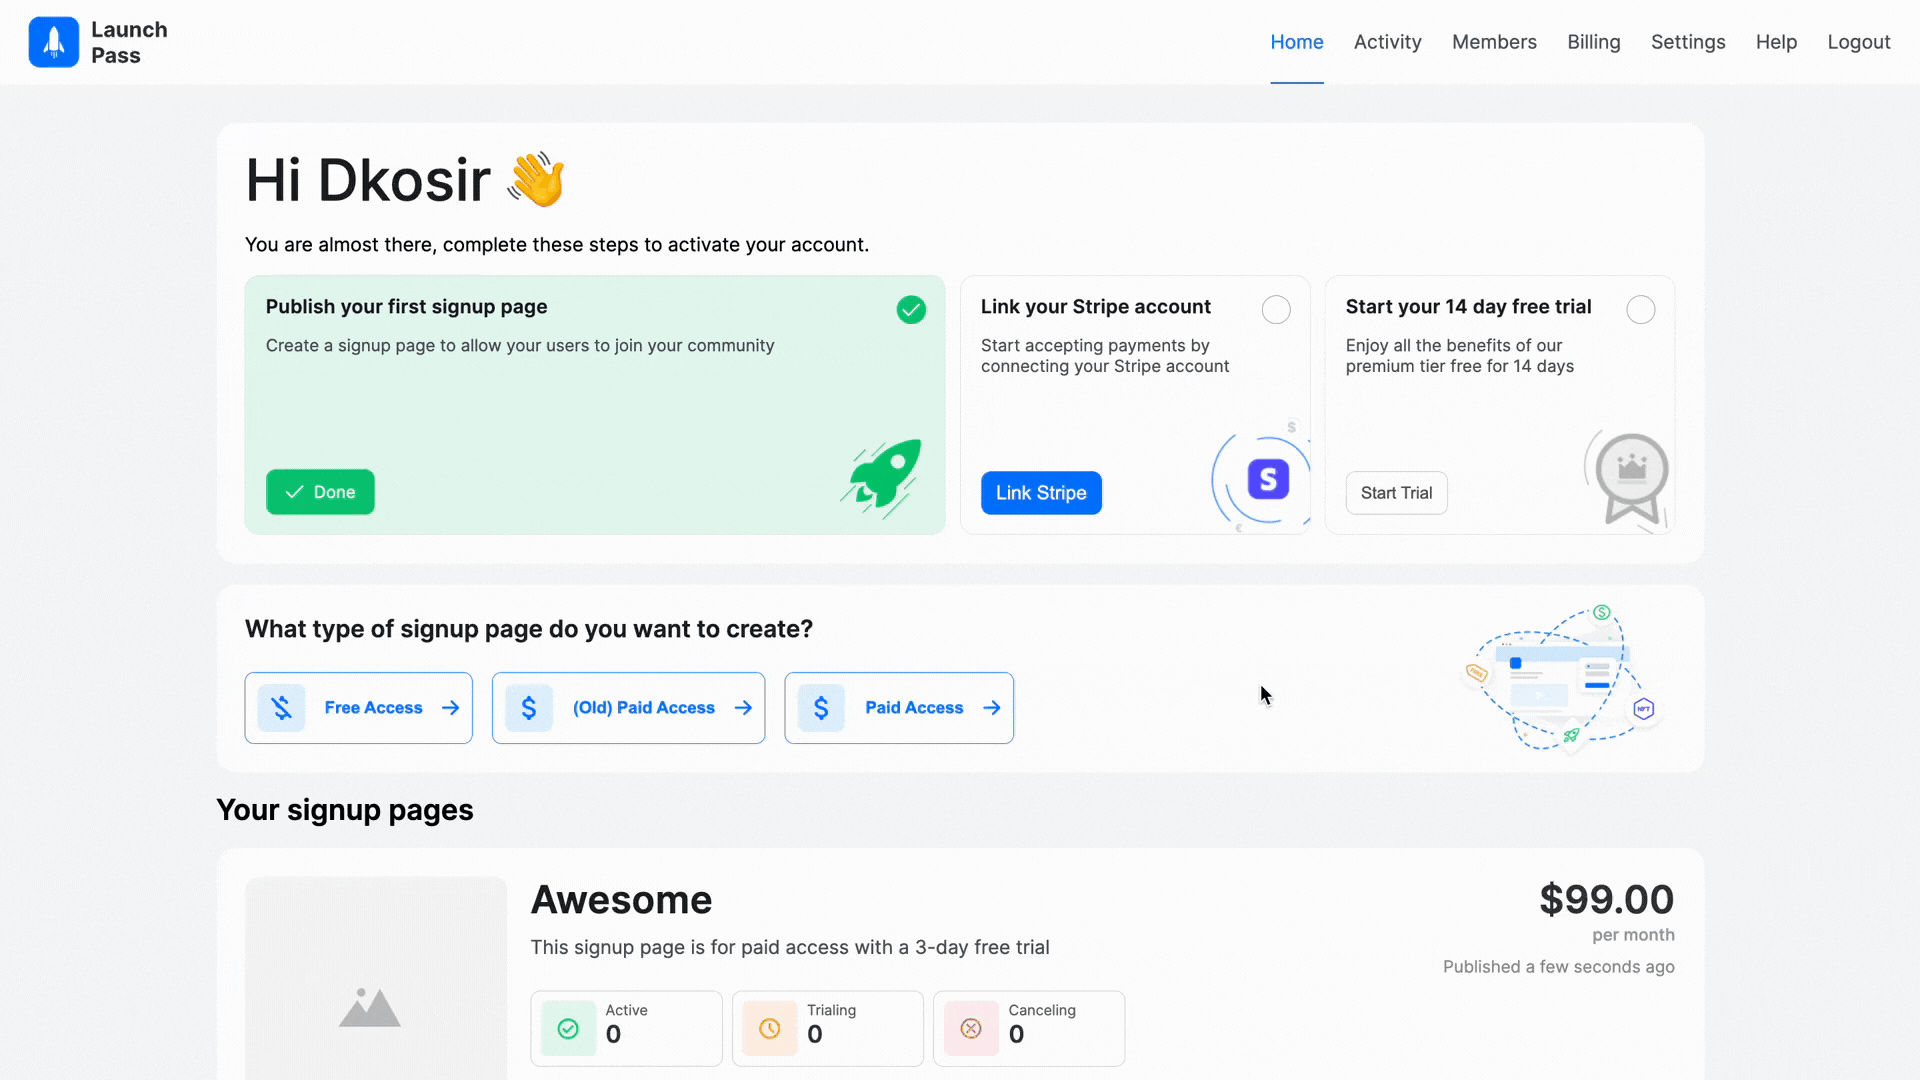
You’re now logged in and connected to LaunchPass and can start creating your community!
In the Admin dashboard, click on Click “Create Page”. Fill in the details under “Make Your LaunchPass”.
.gif)
A couple of helpful definitions:
Welcome Channel: This is the first channel subscribers will see and should only be used to welcome and provide activation instructions to members.
Roles to Assign: The role that will be assigned to your subscribers in Discord upon activation.
Business Name: The name of your business that will display on your signup page. This field can be edited at any time.
Offer Name: The name of the specific offer to display on your signup page. This field can be edited at any time.
Offer URL: Essentially, the link to your signup page. Updating the “Offer URL” field will automatically update your signup page URL.
Once you’ve filled in the details, you can set your brand styles and publish your page. Note that you can edit your page and make updates at any time.

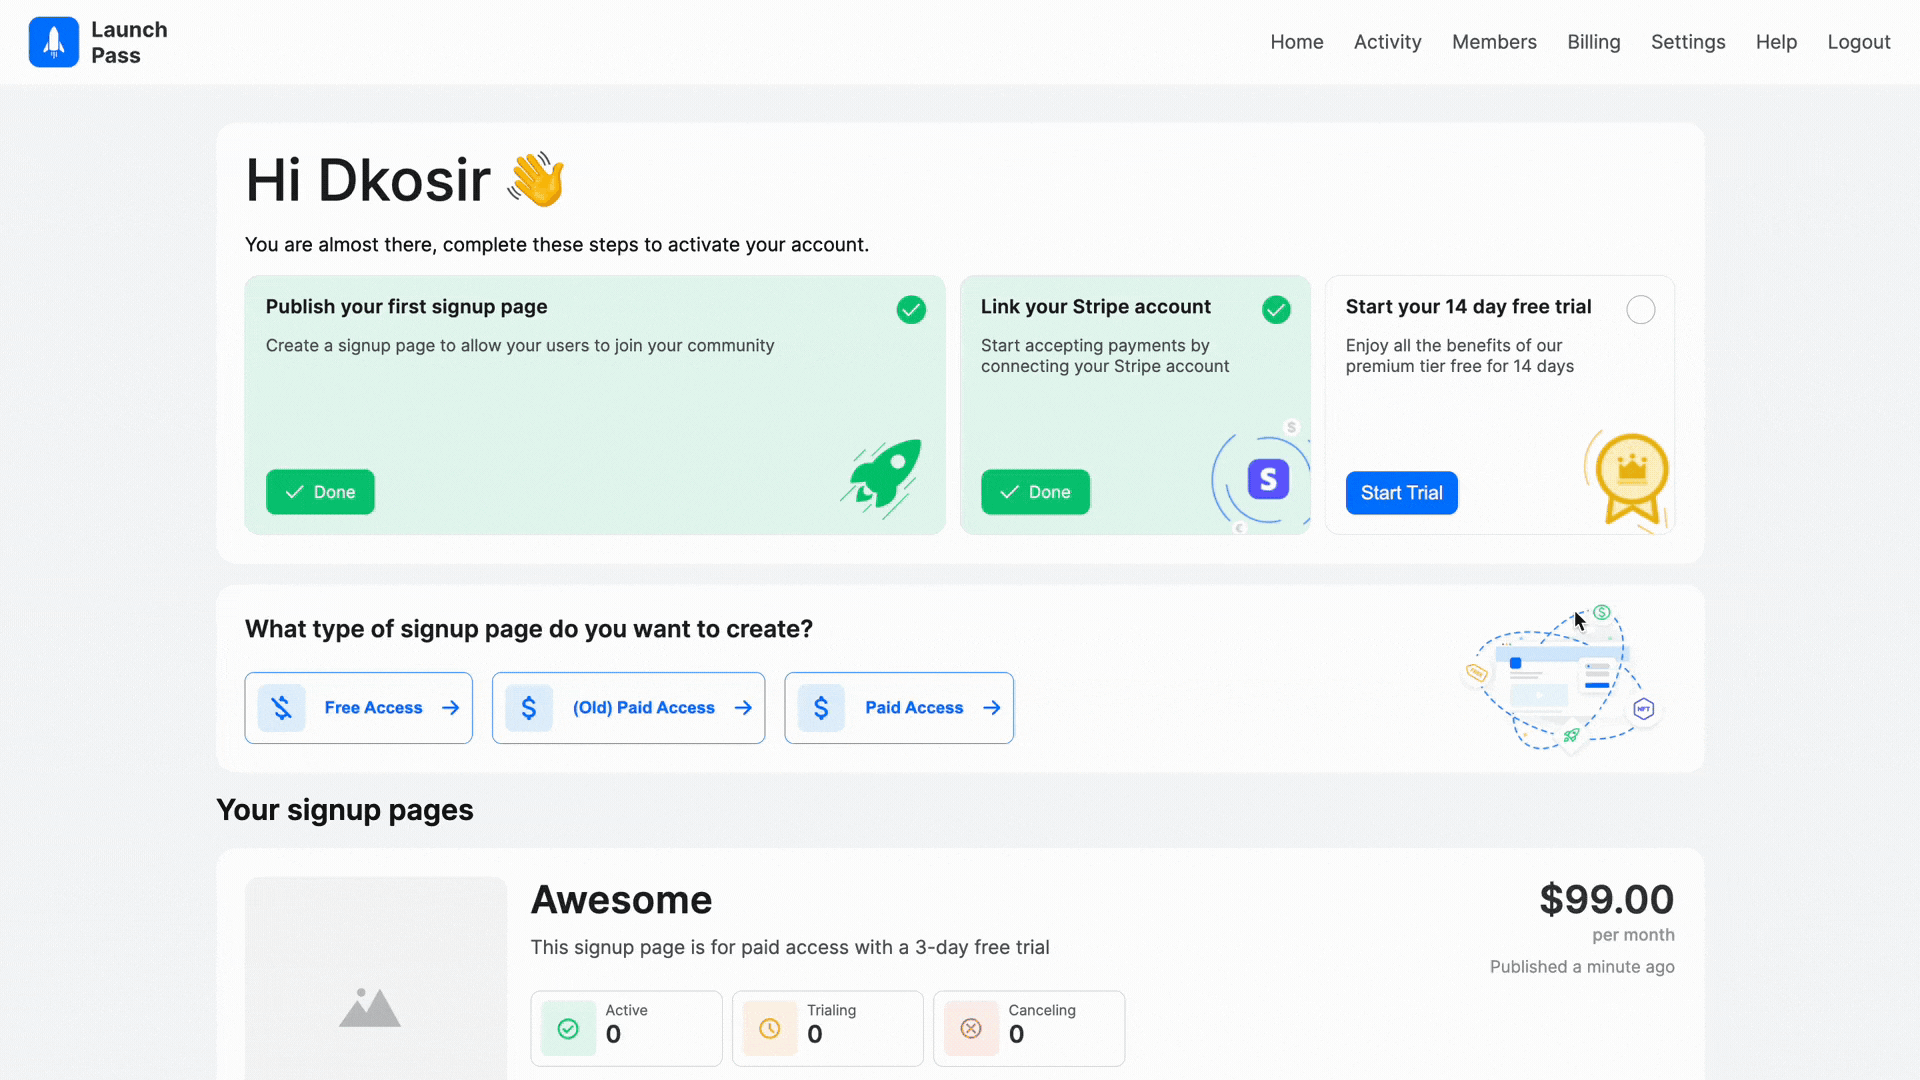
Step 4: Connect your Stripe account to receive payment
Once you start your trial you’ll have the option to connect your own Stripe account. This is how you will get paid by subscribers that sign up for your group.
Click “Link Stripe” to connect your Stripe account.
Step 5: Start Your Trial
Once you’ve connected your Stripe account, click on “Start Trial”.
You’ll be brought to the billing page. Under Premium, click “Select Plan”. Add your payment information to start your free 14-day trial. This will allow you to start charging for access to your group.
Note: We offer a Free tier if you want to create a free community. You will not be able to charge members for access at this tier.
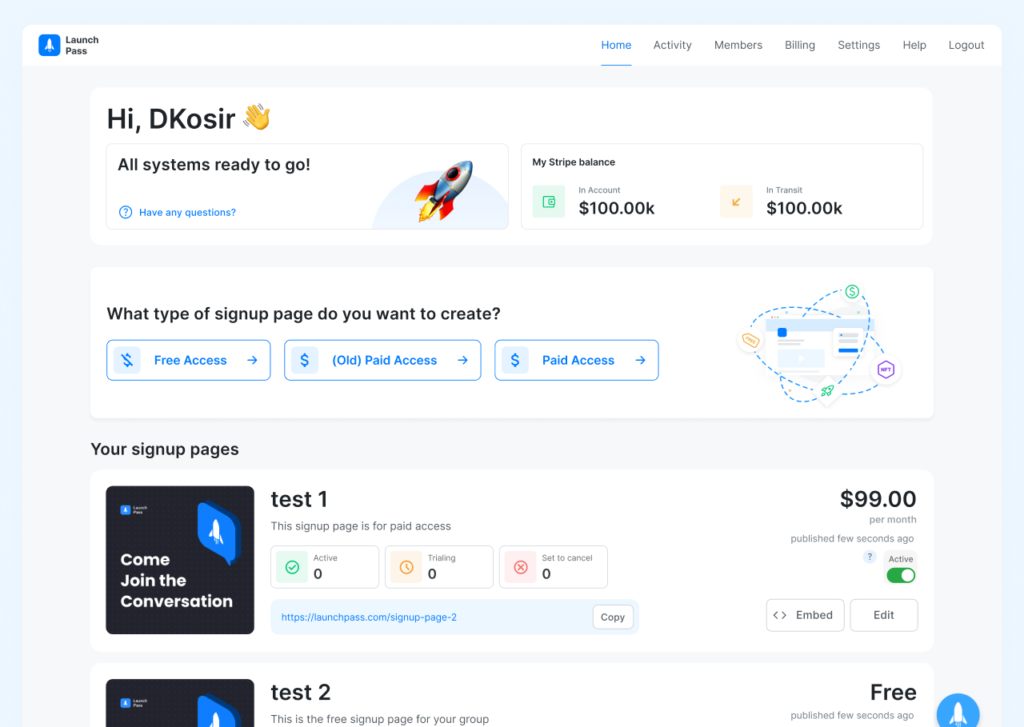
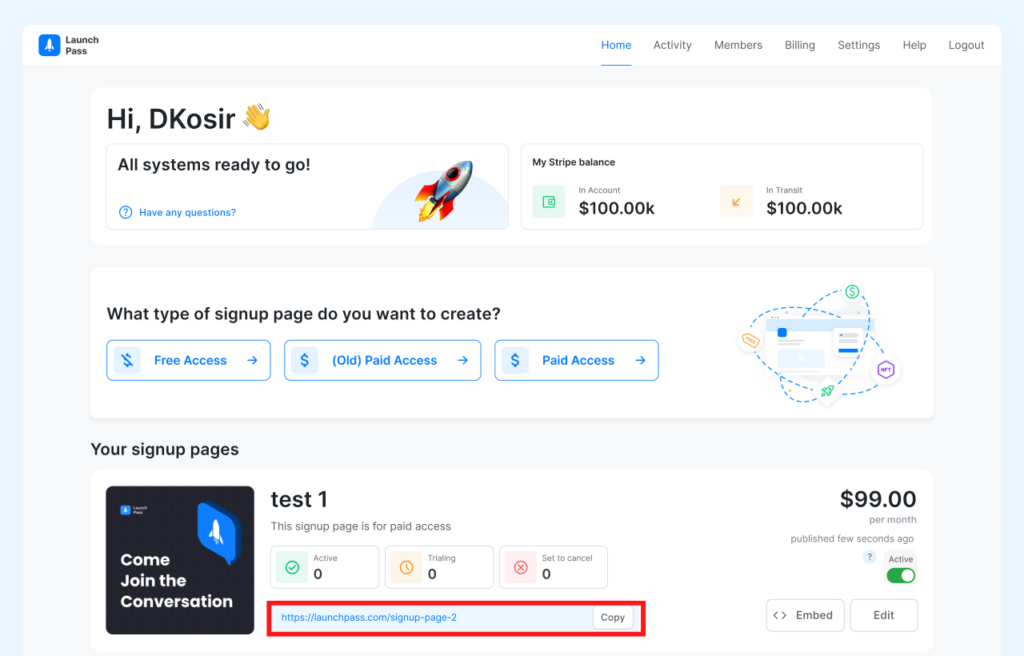
A rocket emoji will appear in the top left of your admin menu stating “All systems ready to go!” once you have done this correctly.
A Note on Billing – As a group owner, payments to you from your members are received via your Stripe account. Your LaunchPass subscription charges are via the card you added under the Billing section of the admin dashboard. More information about pricing and billing can be found here
Step 6: Share Your Page!
The link generated once you publish your paid offer is for you to share with those you want to invite. This link will send them to the offer page you just created, where newcomers can sign up.
If you need any help, our setup team will walk you through your Discord server configuration (free of charge!)
Helpful Notes
Inside Discord
You will see a new channel created on your server. It is a read-only channel for all except the owner (you). Here you will find a welcome message with instructions regarding the activation code for your users.
Creating Additional Paid Channels
In Discord servers, “everyone” is the default role. If you are creating new channels where you want to limit access to only paying members, you will need to lock the channel.
- First create a new channel
- Got to edit channel, then permissions
- Under the ‘roles/members’ section set ‘view channel’ to off or ‘x’
- Find the role corresponding to your paid channel, in our case ‘premium’, and set ‘view channel’ to yes or ‘checkmark’
- You should now see a lock beside the channel name
Members Signing Up
Once payment has been processed and members have accepted their invite, they will be directed to your Discord.
- Members will land in the welcome channel you created or assigned when you created your signup page.
- Members with paid access will have a tag indicating so on the roles under their name.
DO’S & DON’TS
DO keep the LaunchPass role at the top of your Roles list: The order matters. You can only manage people in Roles below you, so it is important this stays at the top – features and admin functions will not work otherwise.
DO toggle on “Display role members separately from online members” for the LaunchPass role: This will ensure that in your server the LaunchPass bot is always at the very top, which makes management easier and allows your users to easily find the bot in order to manage their subscription.
DO NOT delete the channel and roles LaunchPass creates: These serve as the foundation for the rest of the server.
DO NOT kick the LaunchPass bot: LaunchPass functionality will be terminated if you do this.
We hope you found this tutorial helpful, and if you have any questions at all feel free to email us at [email protected].
Looking forward to seeing what kind of paid Discord community you create!
